A few posts back I shared my experience working with a vintage Lion Brand pattern. Naturally I loved it and hope to make more vintage patterns in the future. So many patterns, so little time, so little Ben Gay needed from sitting in one position crocheting till my eyes are blurry. ha!
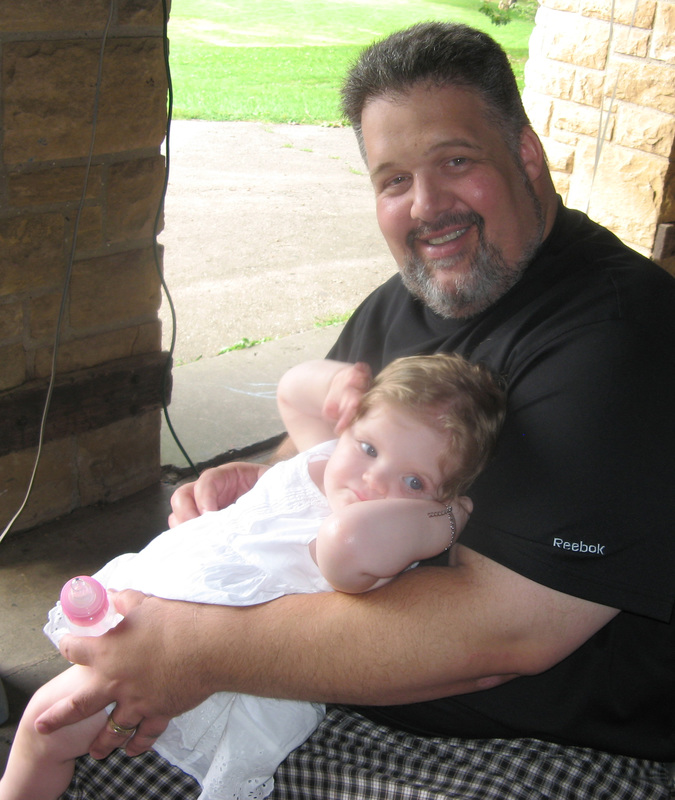
I always test new patterns before I make final pieces for my peeps. I want to know the ins and outs of a pattern and all its quirks. It should come as no surprise I alter about 99% of patterns I use. Every experienced crocheter does this IMHO. We just develop our personal likes and dislikes for working in rounds, rows, chains, etc. It is not a reflection on the pattern writer. So yes my bud Willow (future stuntman) needed a cute Christmas bonnet. I brought over her bonnet and also my stash of yarn for making her a winter hat, scarf and mitten set. She dived right into that box of yarn. Future fiber lover perhaps! Knitting or crocheting as she jumps from an airplane for a movie stunt? Who knows! Anyway Willow. Thanks for all the cute opportunities in crochet.
1 Comment
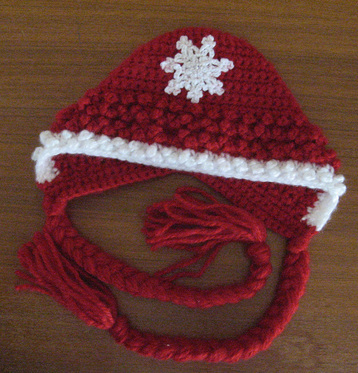
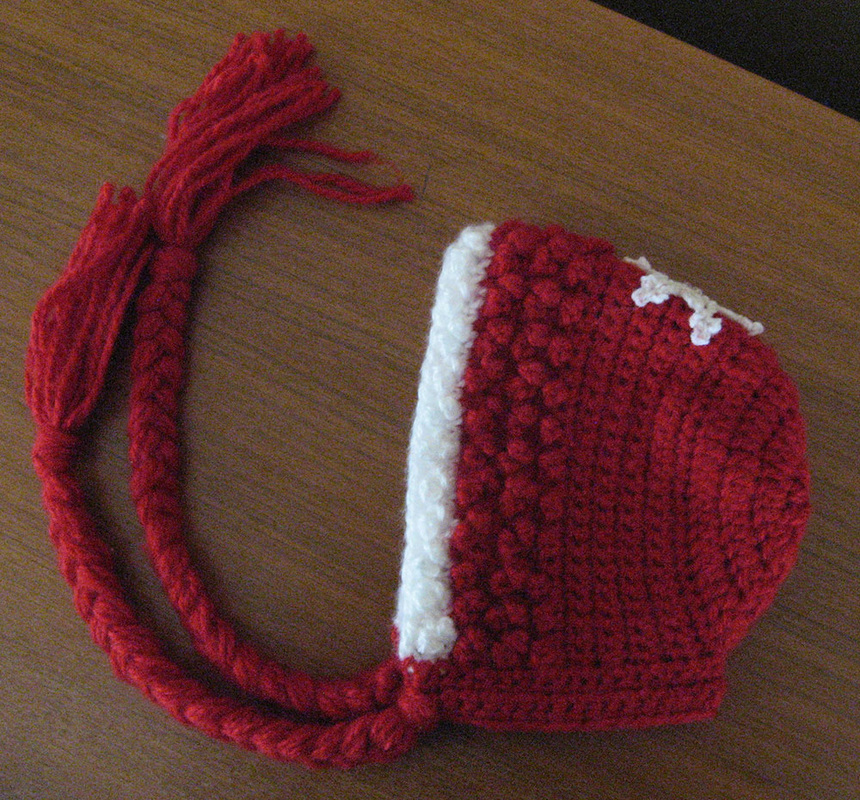
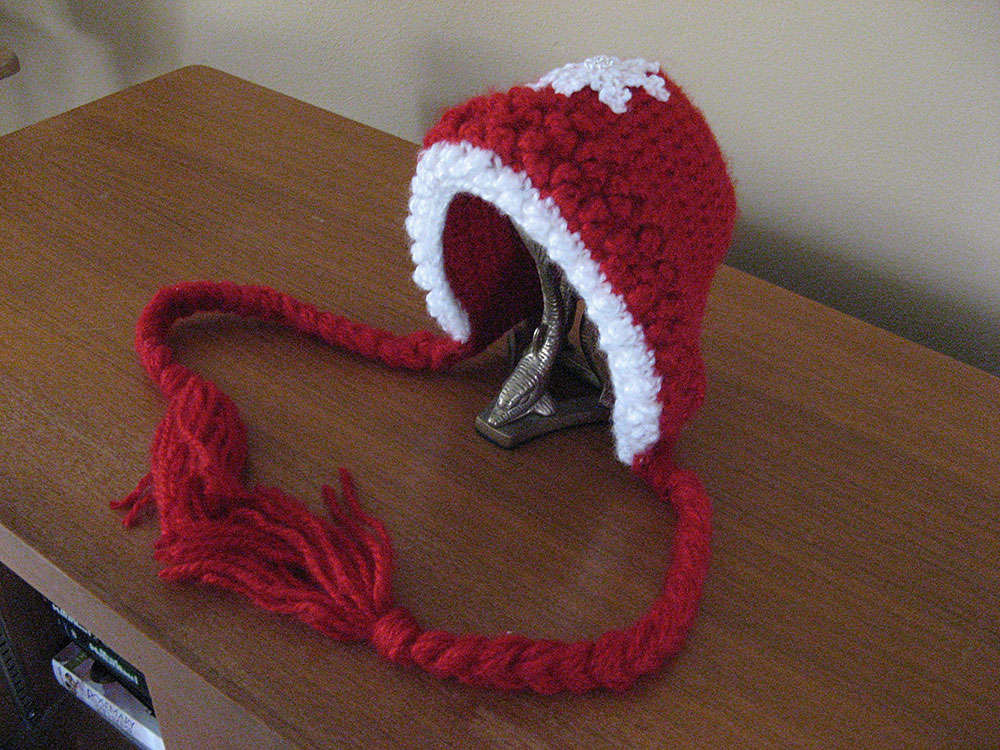
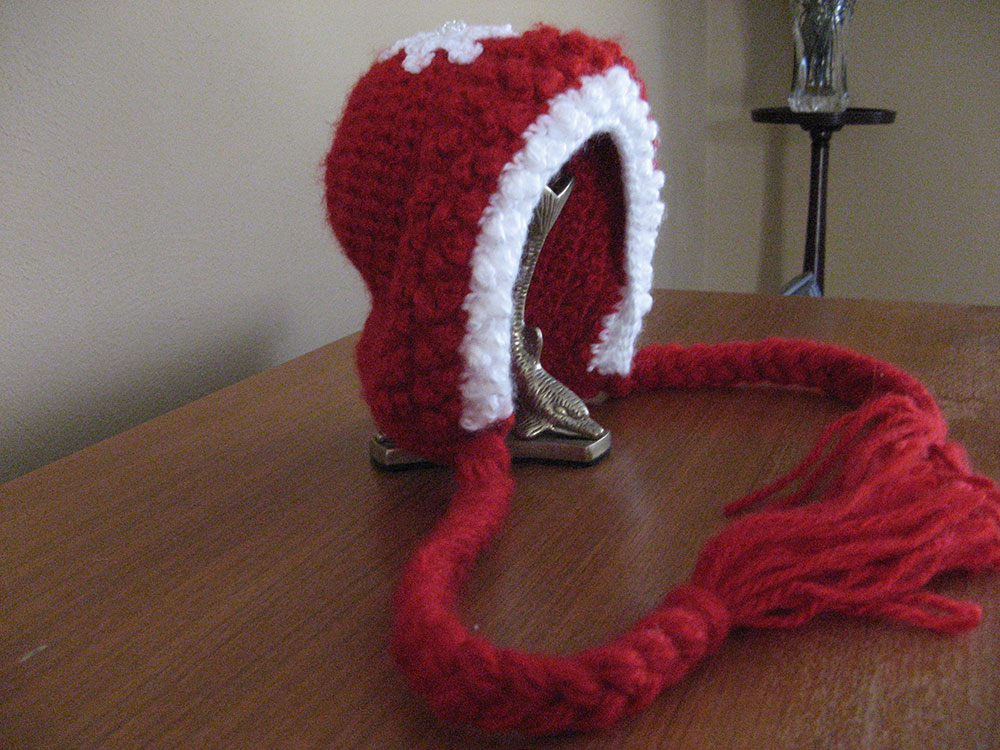
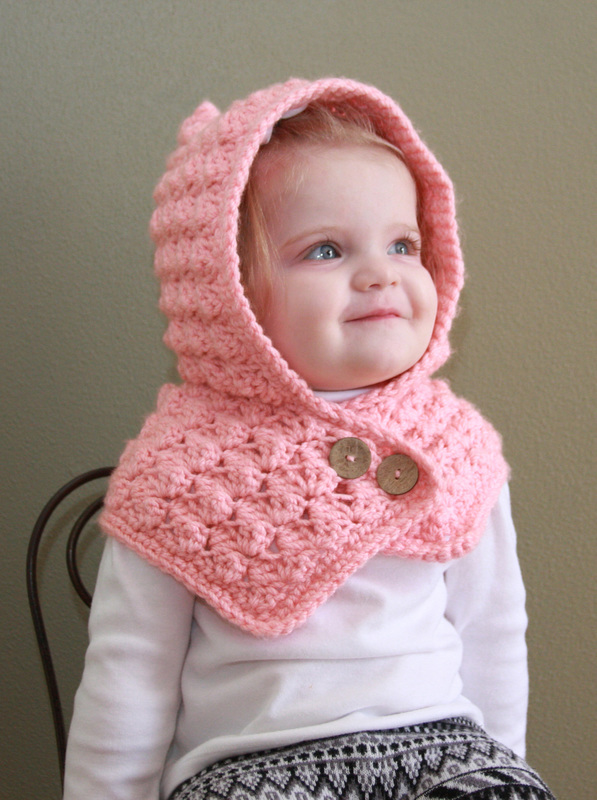
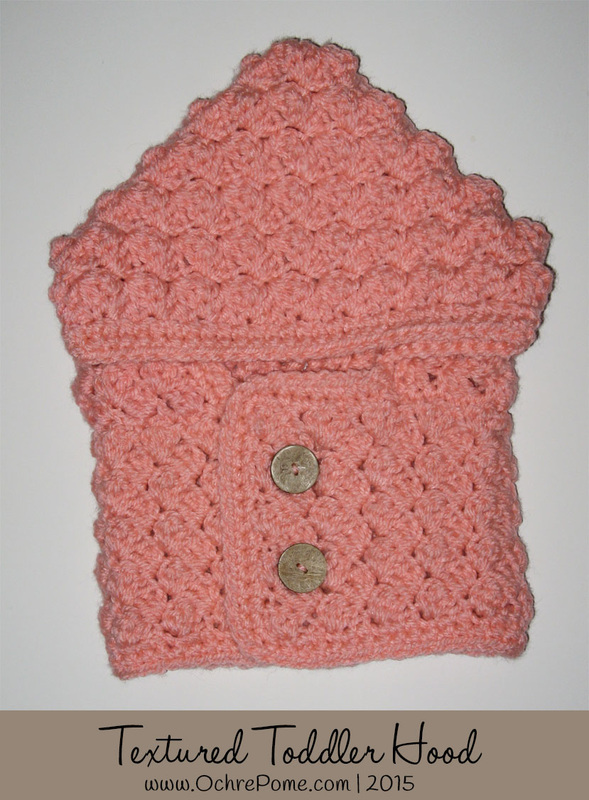
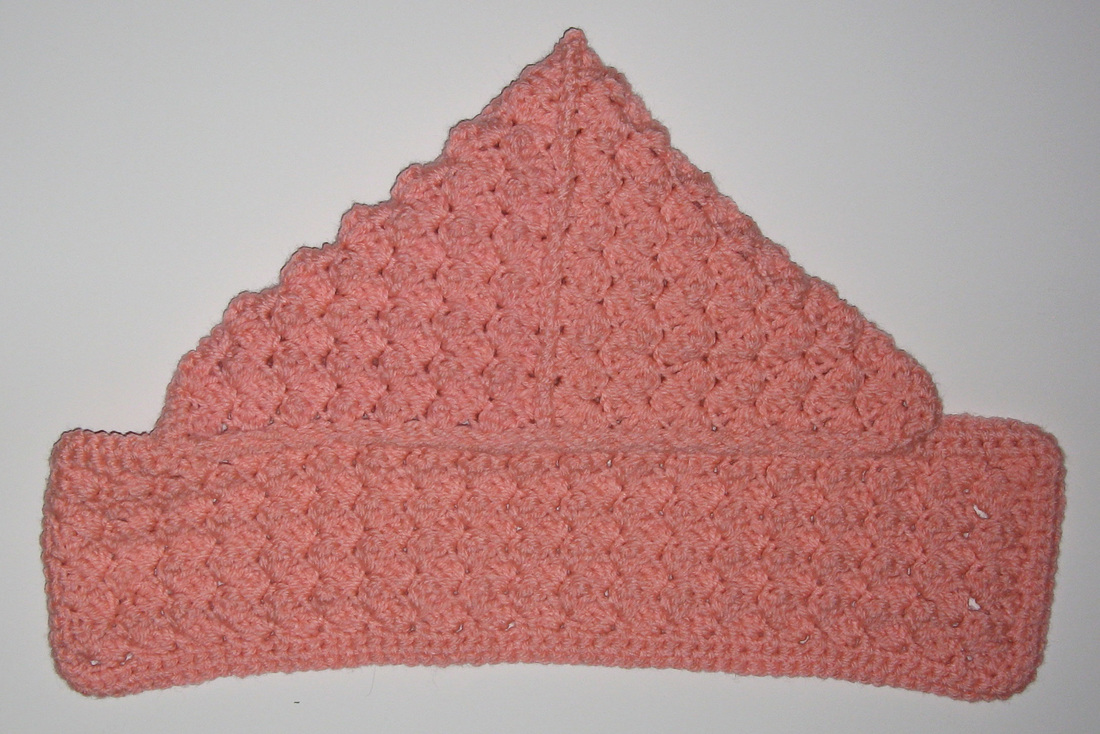
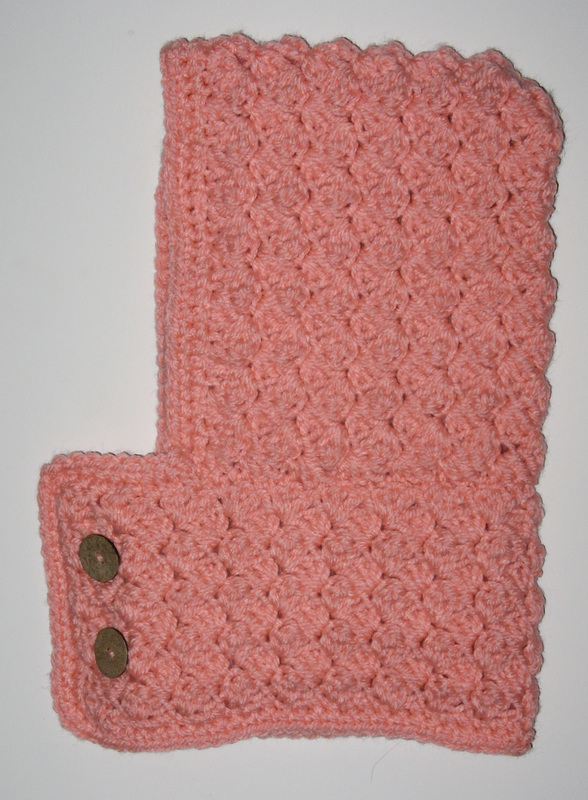
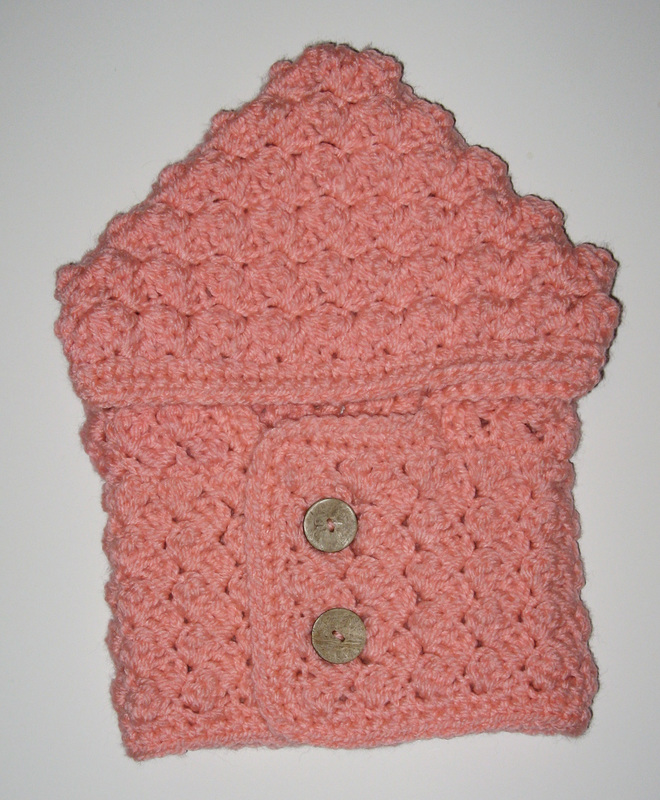
Seems like the demand is up for hoods this year. Can't say I blame folks as they are awful cute. I whipped up this little pattern for my bud Willow (who, BTW, has been practicing for her future as a stuntman and hurt herself the other day.) One thing I will say is that the photos of hoods flat and not on people never does them justice. They just end up looking like some very oddly unbalanced piece of apparel. I am sure once I get a shot of Willow in her hood it will look better in photos. Trust me though, this is adorable and a keeper! The pattern is featured in a size that will easily fit a 12-24 month old child. But it is easily adjusted. The pattern, with a stitch of (sc, 2 dc), is easily made bigger or smaller by adjusting your starting chain by multiples of 3.
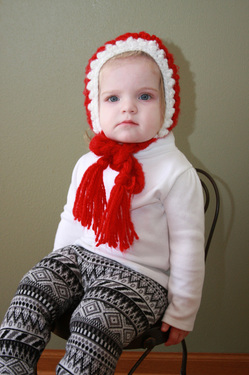
Hood Chain 25 1. 2 dc in 4th chain from hook, skip 2, (sc, 2 dc) in next chain, skip 2. Repeat pattern o end. Sc in last chain. Chain 2. Turn. 2. 2 dc in first stitch, skip 2, (sc, 2 dc) in next stitch. Repeat to end. Sc in last stitch. Chain 2 turn. 3. Repeat row 2 to 35 rows total. Fasten off yarn. 4. Fold in half and sew up the seam with a whip stitch. Scarf Chain 73 And same steps from hood until you have worked 9 rows. Fasten off yarn. Attaching scarf to hood. Count 3 "puffs" in on scarf and, lining up the 3rd puff on the scarf with the 1st puff on the edge of the hood, either slip stitch scarf to hood or whip stitch. Choice is yours. Edging. Either fasten off yarn or begin edging of hood with sc all the way round with 2 sc in corners. Do 2 rows. Fasten off and weave in ends. Attach your buttons. Common hat/head size chart Hi all. Been looking at your posts below and the common question is how to know how many chains of 3 to add to accommodate the size you need. mention this below already but I always go to Bev's Country Cottage's web site. She has a chart of sizes for all sorts of things including head/hat dimensions worked out based on the average size head for a person of that age. Here is the link. http://www.bevscountrycottage.com/size-chart.html#hat  My buddy Willow likes to keep me busy. Which is great! I am on the hunt for a proper, cute Christmas bonnet and also a hat, scarf and mitten set. Needless to say I will probably be creating that myself adapting various patterns. Its usually like that with children's patterns. You find a bonnet you like but there's no matching pieces. That's just fine. Adapting patterns really isn't as hard as one might think. But back to Vintage. Yes, I said everything that is old is new again. Well, looking for a bonnet I came upon Lion Brand Yarns recent upload to Ravelry of a knitting and crochet book of patterns from 1912! Oh give me more Lion Brand! The beauty of this upload is that its the entire book right down to stitch techniques. You say, hey aren't stitch techniques always the same? Well for the most part yes but let's say you come across a puff stitch. Everyone has a different version of the puff stitch mostly consisting of more yarn overs and drawing up extra loops on the hook. The way the patterns are written they are referencing their techniques and without those details the patterns would be pretty difficult to achieve. I have never seen patterns written in such short-hand. They're efficient but I did find myself wondering often if I had enough stitches on the hook per the pattern and just winging it. That's why I always do what I call a "comp" of every design I try the first time. This is an opportunity to work out the kinks. Another interesting problem with a pattern from 1912 is all the yarns are just not made any more. This pattern called for Eider Wool. No information was provided about the weight of the yarn or standard hook/needle sizes for it. I spent some time researching online and found others trying to figure out what the weight was and came to the conclusion that Eider Wool is a #5 Bulky yarn. The next challenge - hook sizes. Yes they list them. Use a No 9 hook or a No 2 hook. Guess what. We don't refer to hooks like that any more. Its all mm and alphabets mainly. That lead me into researching hooks and I learned a lot of about the history of crochet hooks. Mainly that the patent for modern hooks started in 1912 (strangely the same year of our pattern). I never did find a conversion chart for No 9 equals the following modern hook. So I just used a hook that was appropriate to the yarn weight. All that being said, thank goodness for Ravelry because I can jot all that information down when I uploaded a project for that bonnet. All the dirty details are in there. I didn't use a bulky weight yarn for starters. I used a heavier worsted weight but for the size bonnet I wanted that was perfect. The pattern makes a child's size bonnet and I wanted a toddler. Here is the link to the pattern and the book: A Manual of Worsted Work Here are my modifications. Using a 6.0mm (J) hook I did the following:
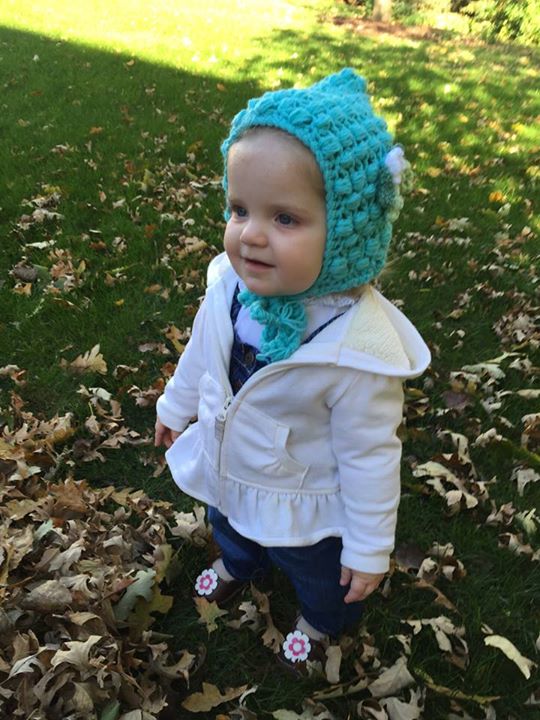 OMG! I don't even know what to say. Here's my little model! Isn't she adorable!!!! :-)
 Yarn: Baby Bee, Sweet Delight, Hobby Lobby
Color 1: Teddy Color 2: Naked Weight: Light (3) Hook size: G (4.0 mm) Stitches Used: (American) Slip Stitch (sl st) Single crochet (sc) Double crochet (dc) Front Post Double Crochet (fpdc) Single crochet 2 stitches together (Sc2tog) Worked from top down Beginning ch of every rnd is counted as a st. The Crown: With color 1 make a Magic Circle
Increase rounds:
Join with Sl st to 1st ch. Don’t tie off yarn. Hat Brim With color 2, join yarn 16 st’s from last row join.
Hat Trim Return to Hat row 22.
Fasten off. Strap Ch 38 with color 1
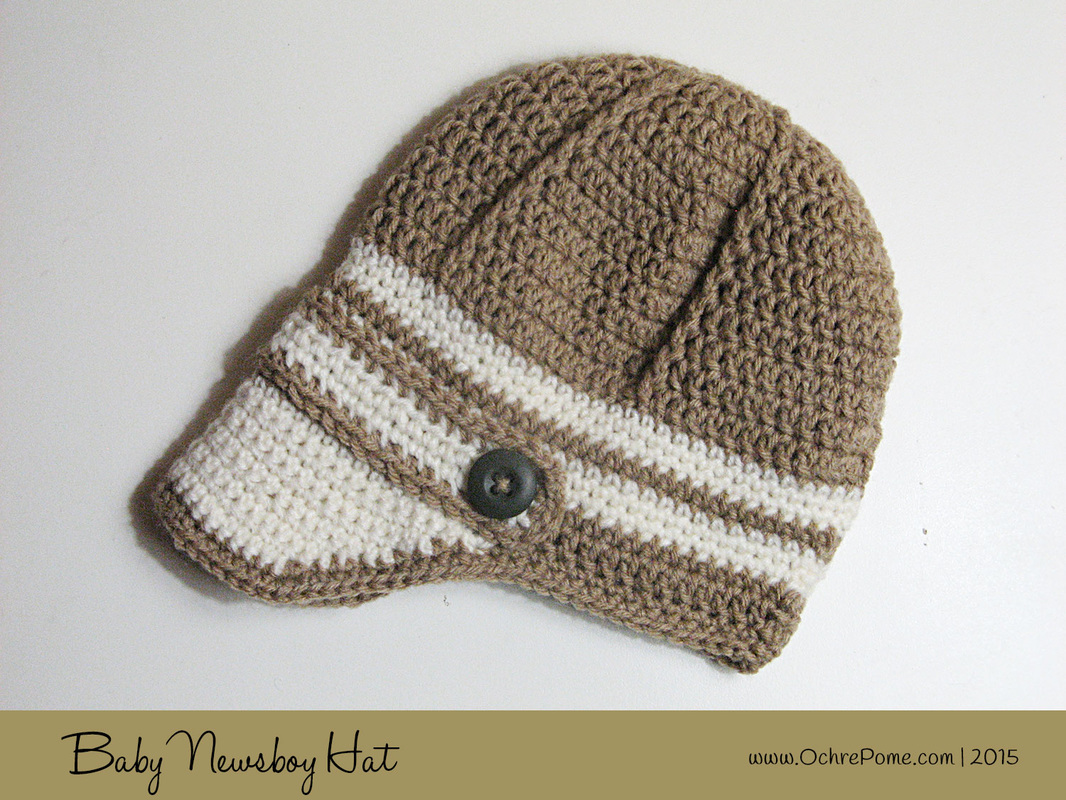
Fasten off. Sew strap just above hat brim. Attach 2 buttons to each end of hat strap. 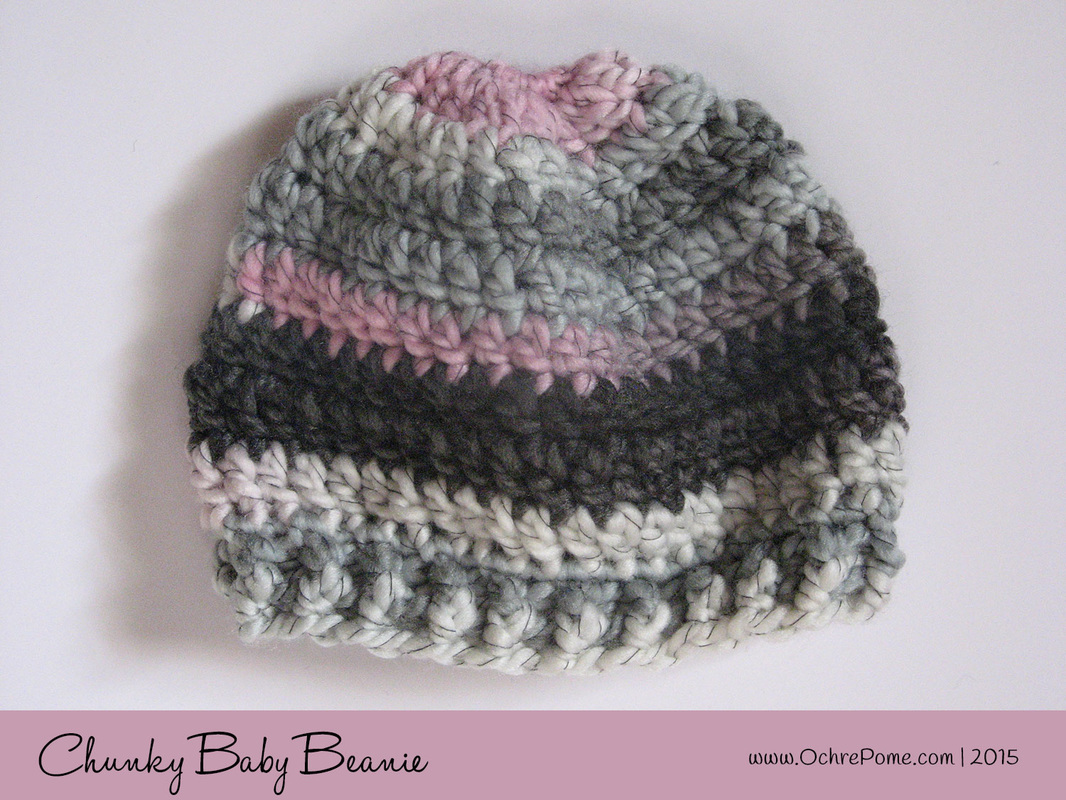 Let's face it, I'm on a roll and since I have this pattern hiding on an unpublished page from the old site, I thought I'd bring it back.
Free! Enjoy. Yarn: Yarn Bee, First Love, Hobby Lobby Weight: Bulky (5) Hook size: J (6.0 mm) Stitches Used: (American) Slip Stitch (sl st) Single crochet (sc) Double crochet (dc) Front Post Half-double Crochet (fphdc) Back Post Half-double Crochet (bphdc) First chain in each round does not count as a stitch Crochet in rounds Pattern:
Weave in ends
|
AuthorCrochet lover. Ghost hunter. Avid chocolate eater. Kitties welcome. Maker of all things art. 
Archives
January 2016
Categories
All
|

 RSS Feed